Activity Indicator with Swift. How to make Spinner? Tutorial
Spinners let people know that your app isn't frozen while loading content. Check out how to make one that can be used on many views and storyboards.
Progress Indicators, spinner or - using Apple nomenclature - Activity Indicator, is a good thing. Great for showing users that something is going on in the app, i.e. that downloading process has started. In Swift we have many ways to create or just add a spinner to our app. Today I’d like to show you, how to make spinner, that can be used on many views/storyboards. Let’s go!
How to create an activity indicator with Swift?
As a junior developer, I’m trying to use most simple and stable solutions. My first spinner that I was using was Activity Indicator View added from Storyboard in Xcode. It’s great, but has some limitations.
First, if you have more than one view controller, you must create a single indicator for each view. And handle this in the code.
Second, if you want to block all view during an update, Activity Indicator isn’t enough.
Third, blocking Navigation Controller or TabBar Controller is just more work, if you’re using only Activity Indicator.
So, what to do? Obviously, there are many Pods with great spinners. In my products I'm using JGProgressHUD, but you can find on Github many, many other great solutions.
But, let’s stay simple. Just one spinner, just some lines of code.
So firstly, let’s make a new Swift file called simple Spinner.swift. We’ll use UIKit. Next, we should create a new class:
open class Spinner
Now, we need to declare our spinner:
internal static var spinner: UIActivityIndicatorView?
We should also declare spinner style. As you may know, Apple Activity Indicator has 3 default styles: white, whiteLarge and gray. Thanks to this open variable, we will be able to use all of them:
open static var style: UIActivityIndicatorViewStyle = .whiteLarge
Beside of this, we need to declare also default background color, and default color of our spinner:
open static var baseBackColor = UIColor(white: 0, alpha: 0.6)
open static var baseColor = UIColor.red
Our next goal is to create spinner function to start spinner:
open static func start(style: UIActivityIndicatorViewStyle = style, backColor: UIColor = baseBackColor, baseColor: UIColor = baseColor) {
    if spinner == nil, let window = UIApplication.shared.keyWindow {
        let frame = UIScreen.main.bounds
        spinner = UIActivityIndicatorView(frame: frame)
        spinner!.backgroundColor = backColor
        spinner!.activityIndicatorViewStyle = style
        spinner?.color = baseColor
        window.addSubview(spinner!)
        spinner!.startAnimating()
    }
}
Ok, we have start function that sets style, background color and base spinner color. What's next? Of course, stop function. It should not only stop animation, but also dismiss spinner.
open static func stop() {
    if spinner != nil {
        spinner!.stopAnimating()
        spinner!.removeFromSuperview()
        spinner = nil
    }
}
Now, if you want to implement Spinner, just go to the View Controller. Then, in place where indicator should start animating (i.e. viewDidLoad or viewWillAppear) just put Spinner.start(). Or, if you want personalize style, backColor and/or baseColor:
Spinner.start(style: .white, backColor: UIColor.white, baseColor: UIColor.green)
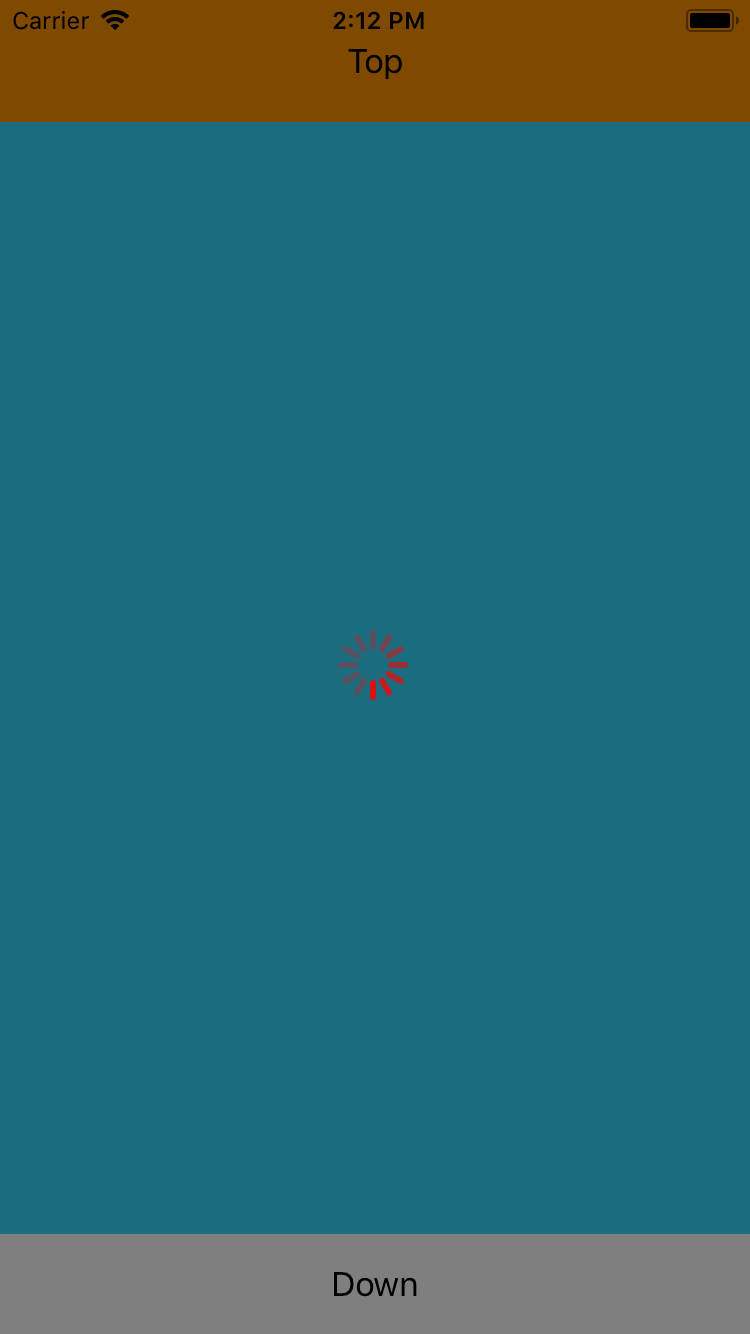
Then, in a place where processing is done, simply put: Spinner.stop(). Notice that our indicator is covering not only base view, but also Navigation Bar or TabBar.
But there's one little problem. If your app has not only portrait, but also landscape mode ... Well, we'll need to do more work. Why? Just check the pictures below:
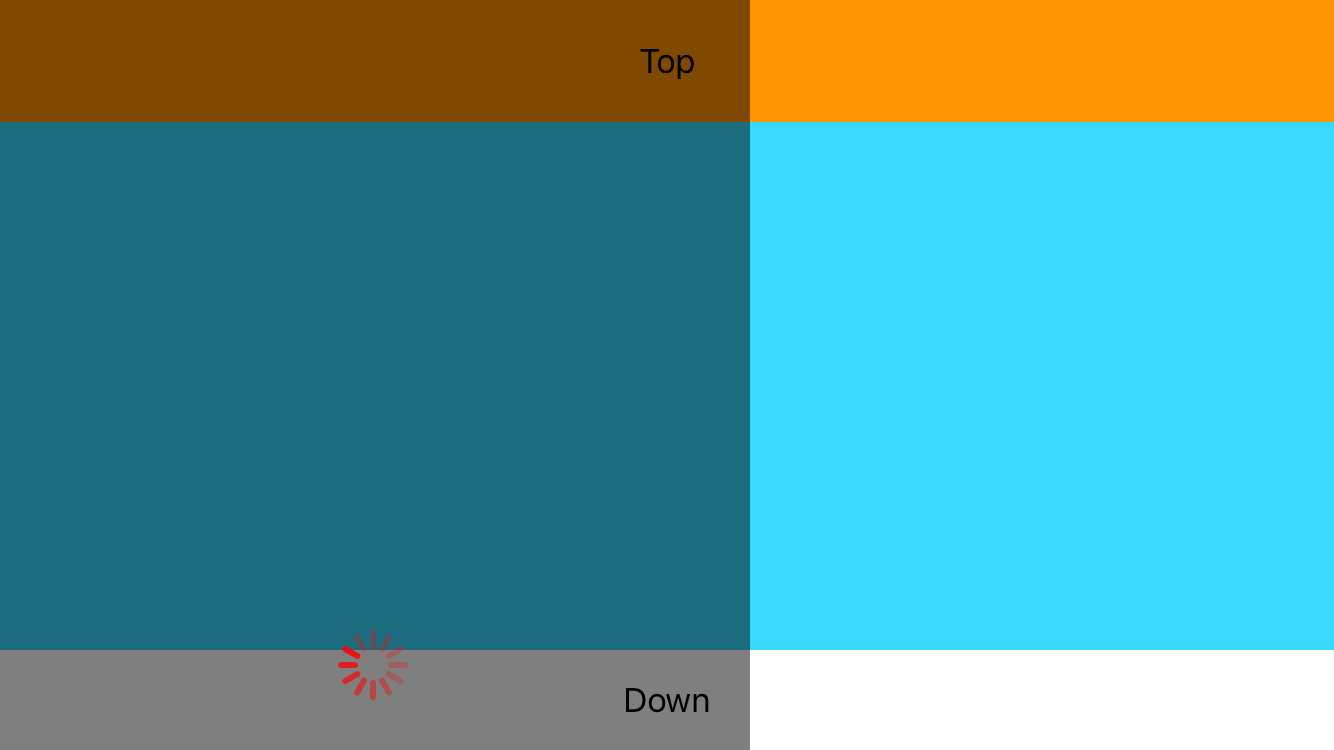
This situation happens because our Spinner doesn't know that device's orientation did change. There are a few ways to fix it. For example, we can use viewWillTransition function in ViewController. Or handle device's orientation from Spinner. But first we need to add a simple function to our Spinner class:
open static func update() {
    if spinner != nil {
        stop()
        start()
    }
}
This func will check if indicator is running (or not), then launch it (or not). The next thing is to implement the function. We can do it in our ViewController:
override func viewWillTransition(to size: CGSize, with coordinator: UIViewControllerTransitionCoordinator) {
    super.viewWillTransition(to: size, with: coordinator)
    Spinner.update()
}
The second way is also very simple. Let's go back to Spinner model, and check function called 'start()'. We can easily add observer to the code:
NotificationCenter.default.addObserver(self, selector: #selector(update), name: NSNotification.Name.UIDeviceOrientationDidChange, object: nil)
So now function start() will be checking if device's orientation has chagned. If yes - start() will run update() function. This is easy! Of course, if we want to use argument #selector, first we need to add @objc to the static function update:
@objc open static func update()
Now reusable spinner should work perfectly. No matter if an app is in landscape or portrait mode.
That’s all, folks :) All code you can get from our Git repository. Enjoy!
Update: Reddit user rohlmann82 suggested auto-layout support and the ability to put it on more than just a UIWindow import UIKit. Rohlmann82 allowed me on publishing his code here in this article.
You can find it here. Thanks very much! Great job!
Credits: photo by Jeff Golenski from Unsplash